Laravel REST API Part 10: Adding Swagger Documentation
Published on Dec 17, 2024
Developing APIs is only part of the process of building a robust backend. Writing clear documentation is equally important to ensure seamless communication with frontend and mobile developers. Postman is a common tool used during development for testing and sharing APIs, but a more professional approach involves embedding documentation directly into your codebase.
In this article, we will explore how to integrate Swagger (L5-Swagger package) into a Laravel application for clean, auto-generated API documentation. We will add two api examples login and logout from the AuthController we developed earlier.
Why Use Swagger for API Documentation?
Swagger simplifies the process of documenting your API by providing a standardized and interactive interface. It allows developers to:
- View all available API endpoints.
- Test API functionality directly from the documentation.
- Share endpoints and response details with other developers efficiently.
Step-by-Step Guide to Integrating Swagger
1. Install L5-Swagger Package
To get started, open your Laravel project and install the package using Composer:
composer require darkaonline/l5-swagger
2. Publish the Swagger Configuration
After installing the package, publish the configuration and views:
php artisan vendor:publish --provider "L5Swagger\L5SwaggerServiceProvider"
This command generates a configuration file l5-swagger.php in the config directory and views in resources/views/vendor/
3. Configure Swagger Meta Information
In your Controller.php, add global metadata using the @OA\Info annotation:
/**
 * @OA\OpenApi(
 *     @OA\Info(
 *         title="Laravel REST API",
 *         version="1.0.0",
 *         description="Laravel REST API example",
 *         @OA\Contact(
 *             email="support@example.com"
 *         ),
 *         @OA\License(
 *             name="Apache 2.0",
 *             url="http://www.apache.org/licenses/LICENSE-2.0.html"
 *         )
 *     )
 * )
 */
abstract class Controller
{
    //
}
This ensures that general API information (title, version, etc.) appears on your Swagger UI.
4. Define Schema for User Resource
Since the Login API returns a User object, we need to define its schema. Open UserResource.php and add the following:
/**
 * @OA\Schema(
 *     schema="User",
 *     type="object",
 *     title="User Resource",
 *     description="User resource representation",
 *     required={"id", "name", "email", "created_at"},
 *     @OA\Property(property="id", type="integer", example=1),
 *     @OA\Property(property="name", type="string", example="John Doe"),
 *     @OA\Property(property="email", type="string", format="email", example="johndoe@example.com"),
 *     @OA\Property(property="created_at", type="string", format="date-time", example="2023-01-01T12:00:00Z")
 * )
 */
class UserResource extends JsonResource
5. Add Swagger Documentation for Login API
Swagger documentation relies on annotations to describe each endpoint. For example, let's document a Login API:
Open your AuthController add the following annotations:
/**
 * @OA\Post(
 *     path="/api/login",
 *     tags={"Auth"},
 *     summary="User login",
 *     description="Login with email and password and return token",
 *     security={},
 *     @OA\RequestBody(
 *         required=true,
 *         @OA\JsonContent(
 *             required={"email", "password"},
 *             @OA\Property(property="email", type="string", format="email", example="user@example.com"),
 *             @OA\Property(property="password", type="string", format="password", example="password")
 *         )
 *     ),
 *     @OA\Response(
 *         response=200,
 *         description="Successful login",
 *         @OA\JsonContent(
 *             @OA\Property(property="token", type="string", example="1|abcde12345token"),
 *             @OA\Property(property="user", type="object", ref="#/components/schemas/User")
 *         )
 *     ),
 *     @OA\Response(
 *         response=422,
 *         description="Validation error",
 *         @OA\JsonContent(
 *             @OA\Property(property="message", type="string", example="The provided credentials are incorrect."),
 *             @OA\Property(
 *                 property="errors",
 *                 type="object",
 *                 @OA\Property(property="email", type="array", @OA\Items(type="string",
 *           example="The provided credentials are incorrect."))
 *             )
 *         )
 *     )
 * )
 */
6. Generate Swagger Documentation
Run the following Artisan command to generate the documentation:
php artisan l5-swagger:generate
This will create a JSON file containing all your API specifications.
7. Access Swagger Documentation
Start your Laravel server and visit the following URL in your browser:
http://localhost/api/documentation
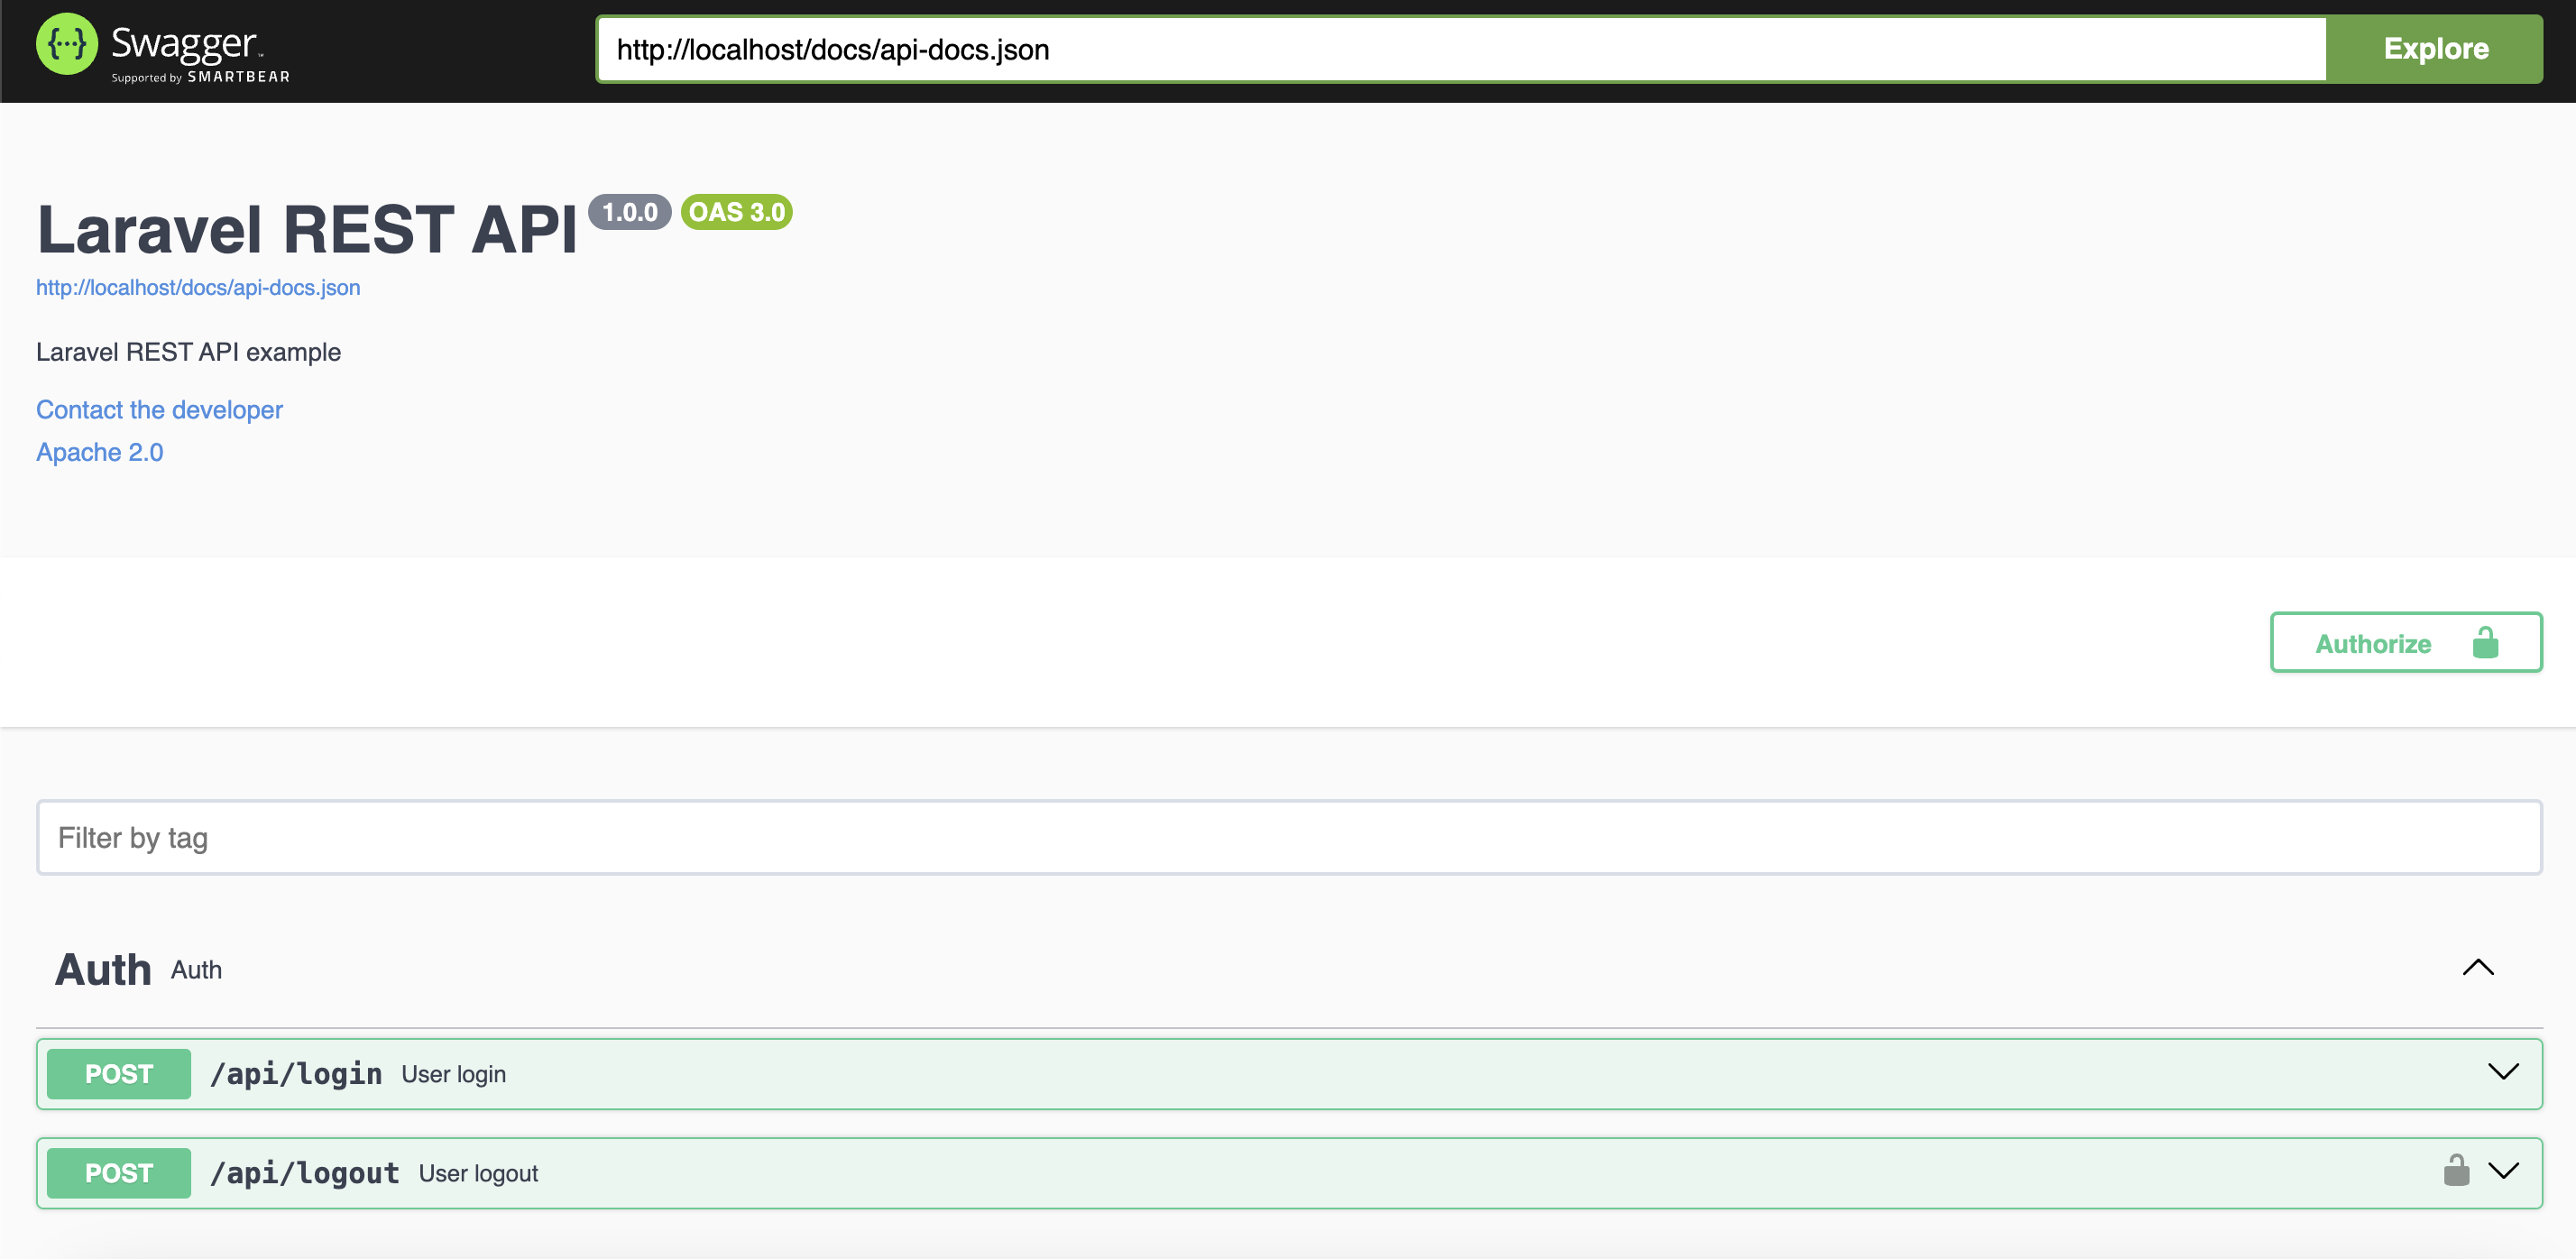
You will see a well-organized, interactive API interface with endpoints, parameters, and responses.
Adding More Endpoints
You can follow the same process to document other endpoints. For instance, here's how to document a Logout API:
/**
 * @OA\Post(
 *     path="/api/logout",
 *     tags={"Auth"},
 *     summary="User logout",
 *     description="remove user token and logout from the system",
 *     security={{"sanctum": {}}},
 *     @OA\Response(
 *         response=200,
 *         description="User logged out successfully",
 *         @OA\JsonContent(
 *             @OA\Property(property="message", type="string", example="user logged out")
 *         )
 *     ),
 *     @OA\Response(
 *         response=401,
 *         description="Unauthorized",
 *         @OA\JsonContent(
 *             @OA\Property(property="message", type="string", example="Unauthenticated.")
 *         )
 *     )
 * )
 */
Handling Authentication in Swagger
To be able to test protected routes, configure your authentication method in config/l5-swagger.php:
'security' => [
    'sanctum' => [
        'type' => 'http',
        'scheme' => 'bearer',
    ],
],
You need also to uncomment this array to be able to see the green Authorize button
'sanctum' => [ // Unique name of security
    'type' => 'apiKey', // Valid values are "basic", "apiKey" or "oauth2".
    'description' => 'Enter token in format (Bearer <token>)',
    'name' => 'Authorization', // The name of the header or query parameter to be used.
    'in' => 'header', // The location of the API key. Valid values are "query" or "header".
],
Add the security attribute in your protected endpoints to require a Bearer token:
security={{"sanctum": {}}}But we already did that in the logout API and in Login should be empty
You can now authorize Swagger UI with a token obtained from the Login API.
And you would probably have something like this now:
Conclusion
If you have been following this series from the beginning, we have introduced creating API's with it's key features in 10 articles and this is the last article in this series. If you didn't follow up with me, I encourage you to do so, I'll promise you will learn a lot in very short time.
Also, this series is available as video course on youtube you can find it here if you are more of a visual learner.
Happy Coding! 👨💻
Stay tuned for more interesting stuff 😎